What Is a Workspace in EasyEnv?
A Workspace in EasyEnv is an ephemeral, on-demand environment where you can instantly spin up real infrastructure and tools to experiment, develop, test, or learn without installing anything locally or managing long-term resources.
Think of a workspace as a temporary playground made of building blocks called recipes. Each recipe represents a real tool or service, such as:
- Kubernetes clusters
- Programming environments (Python, Java, Node.js, etc.)
- Databases (Postgres, MySQL, Redis, MinIO, and more)
- CI/CD tools (Jenkins, Git servers, Docker, registries)
- And hundreds of other tools you can mix and match
You can start from a pre-made template (like a CI/CD pipeline or Kubernetes lab) or customize everything yourself by combining the exact tools you need.
Why Workspaces Are Different
- Ephemeral by design – Workspaces live only for the duration you choose and are automatically cleaned up.
- Real infrastructure – You're not using simulations; you're working with actual tools and services.
- Composable – Mix multiple recipes together into one cohesive environment.
- Collaborative – Invite teammates with different permission levels.
- Fast – Go from idea to a running environment in minutes.
Whether you need a short-lived dev setup, a training lab, a demo environment, or a safe place to experiment, EasyEnv Workspaces let you focus on building and learning - not setup and cleanup.
How to Create a Workspace
Follow these steps to start your Ephemeral environment.
1. Start a New Workspace
You can start in two ways:
Option A: Click the blue Go to Workspaces List button on your dashboard.
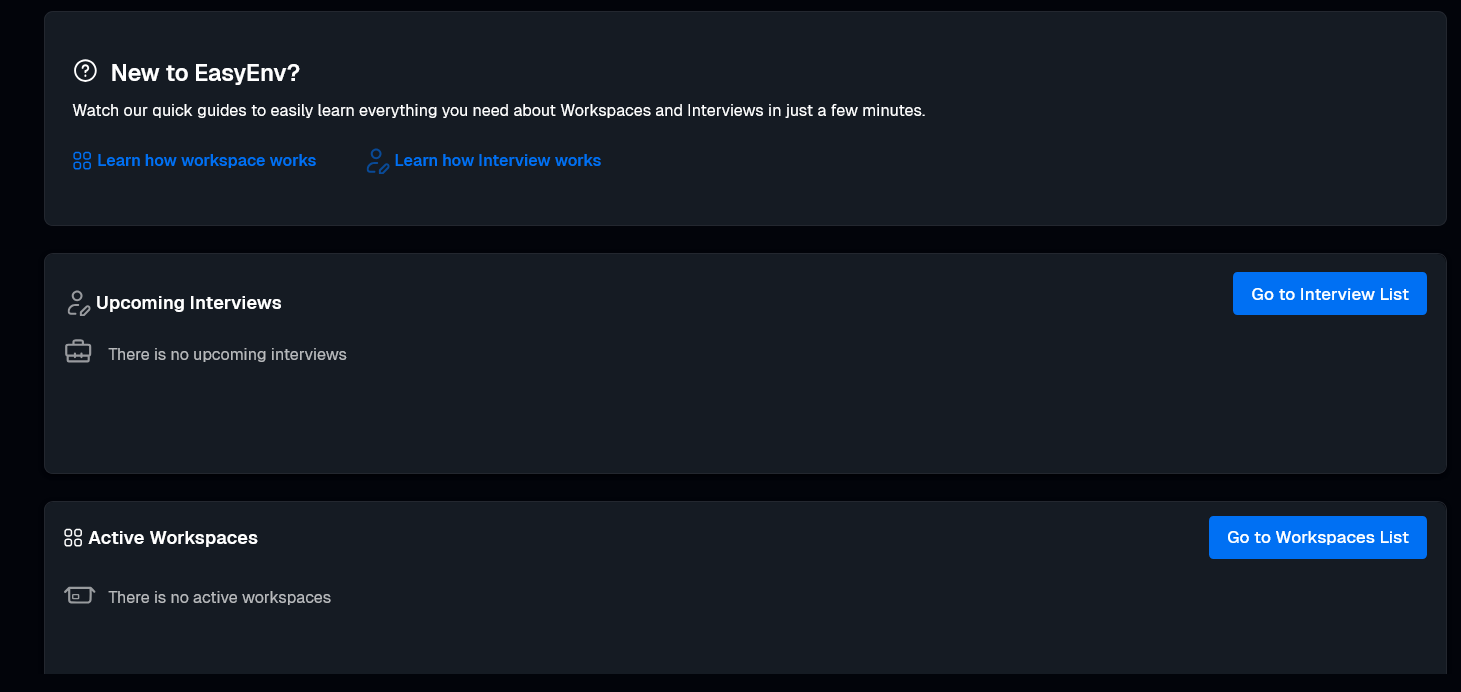
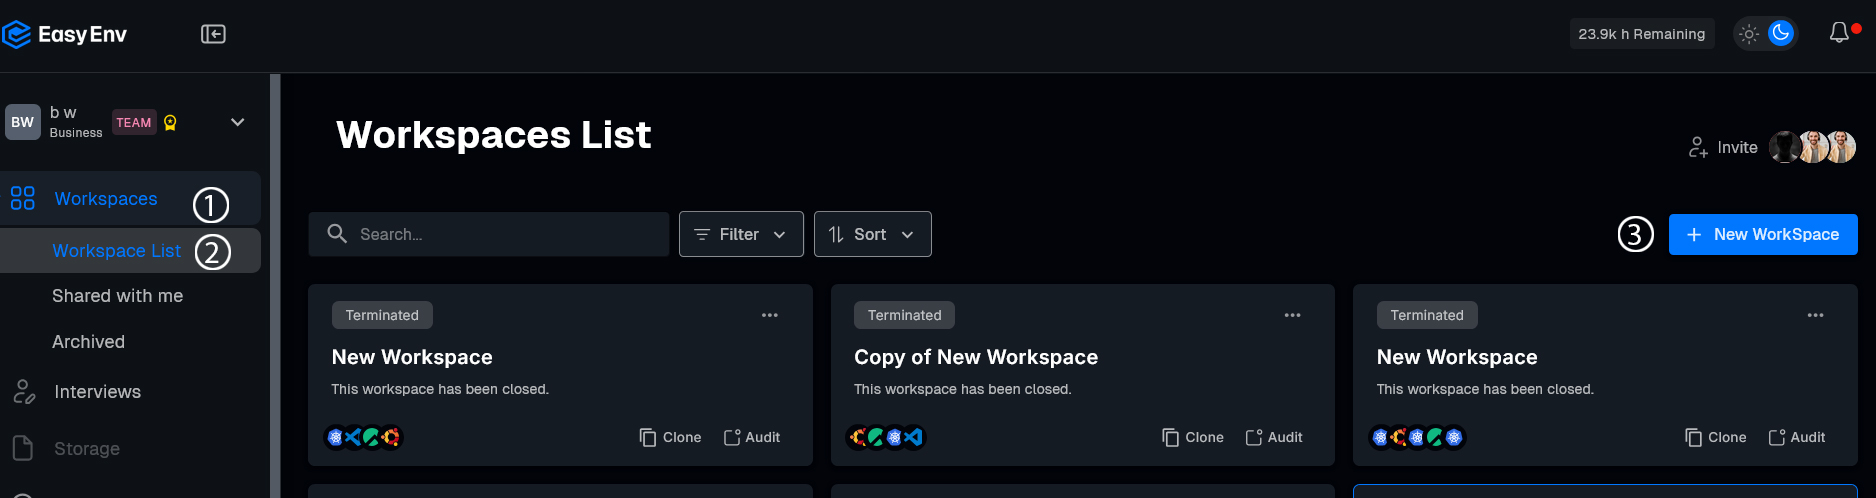
Option B: Click Workspaces (1) in the left menu, then select Workspace List (2)
Once there, click the + New Workspace (3) button.
2. Pick a Template
Select a setup like CI/CD, Kubernetes Cluster, or Customize (1) to build your own.
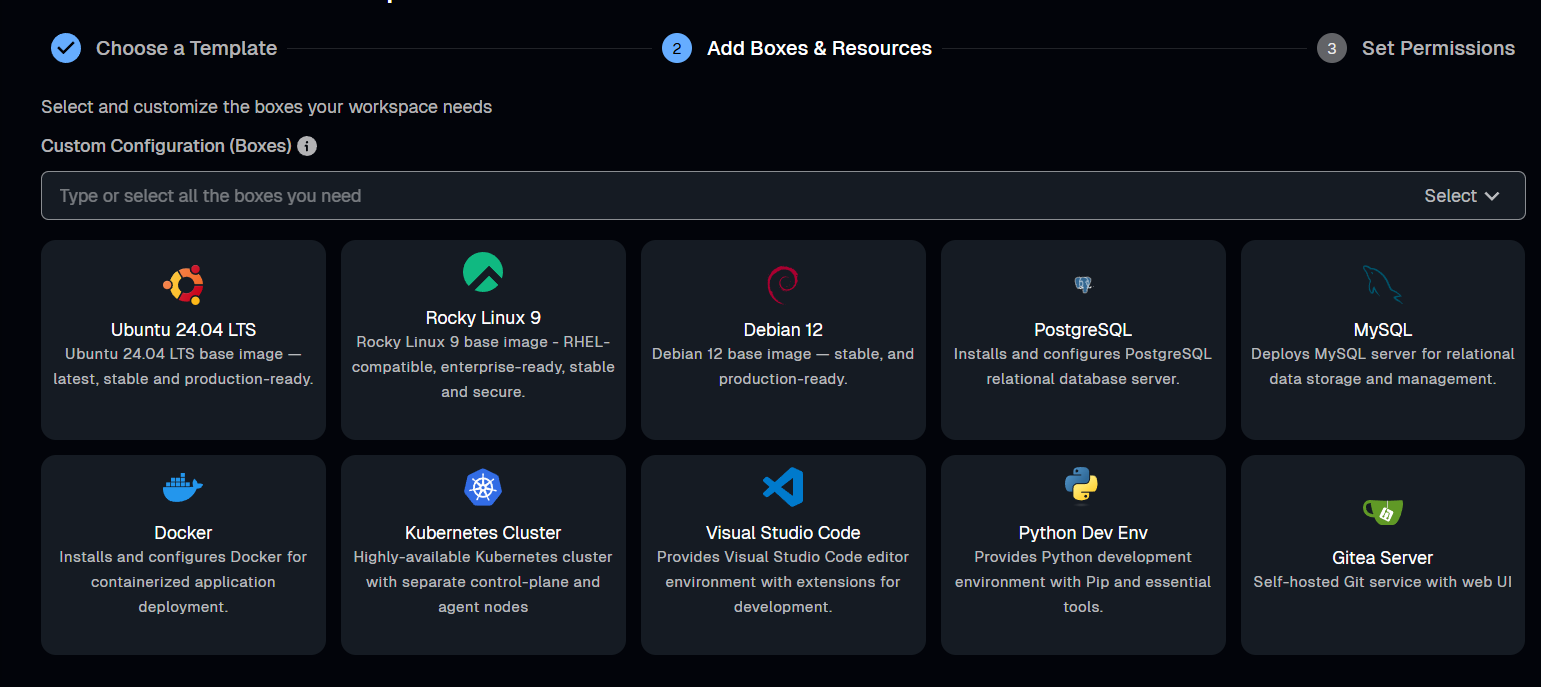
3. Add Box and resources
Click Add Boxes & Resources. Use the search bar to find specific tools (like "Java" or "MinIO") or check the boxes for the listed resources.
4. Invite Team
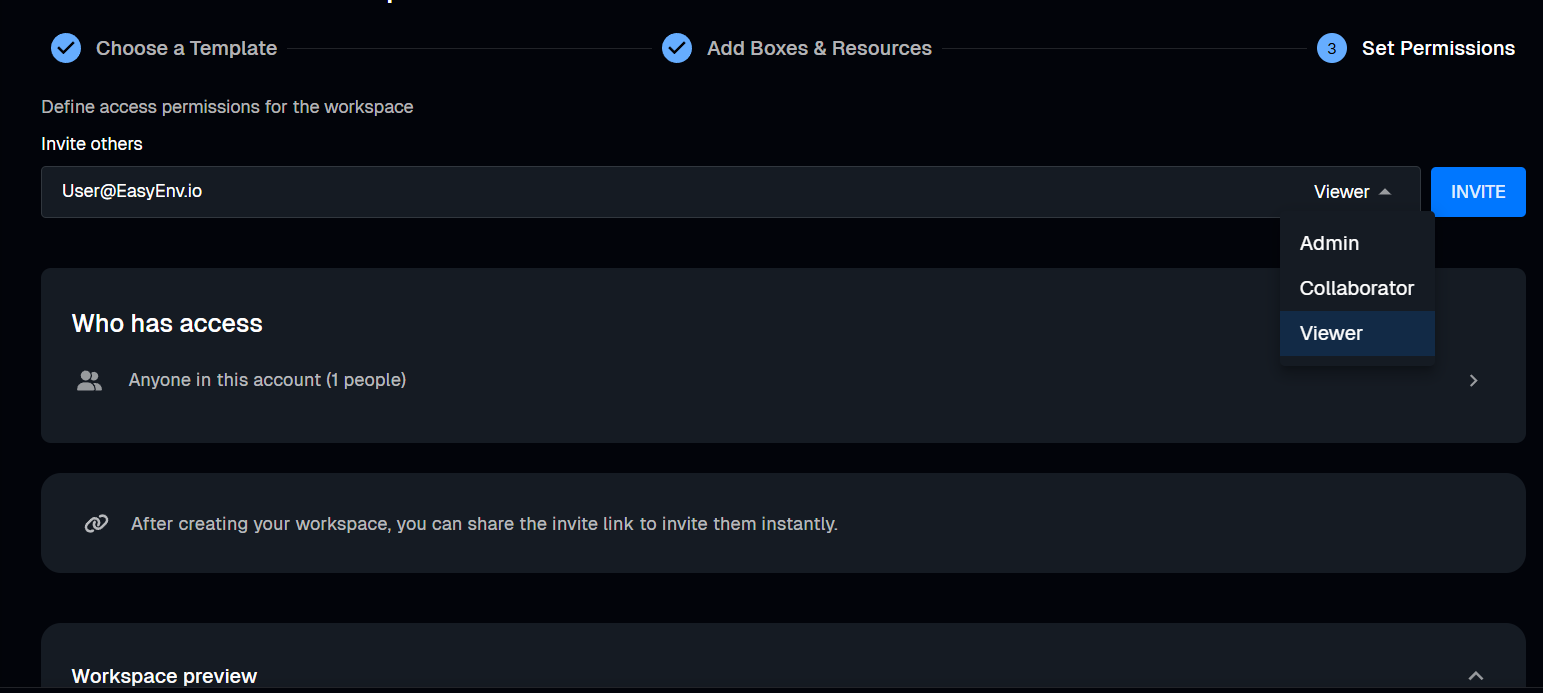
Click Set Permissions. Type an email and choose a role:
- Viewer: Can only watch
- Collaborator: Can pilot and run actions
- Admin: Full control.
5. Finish
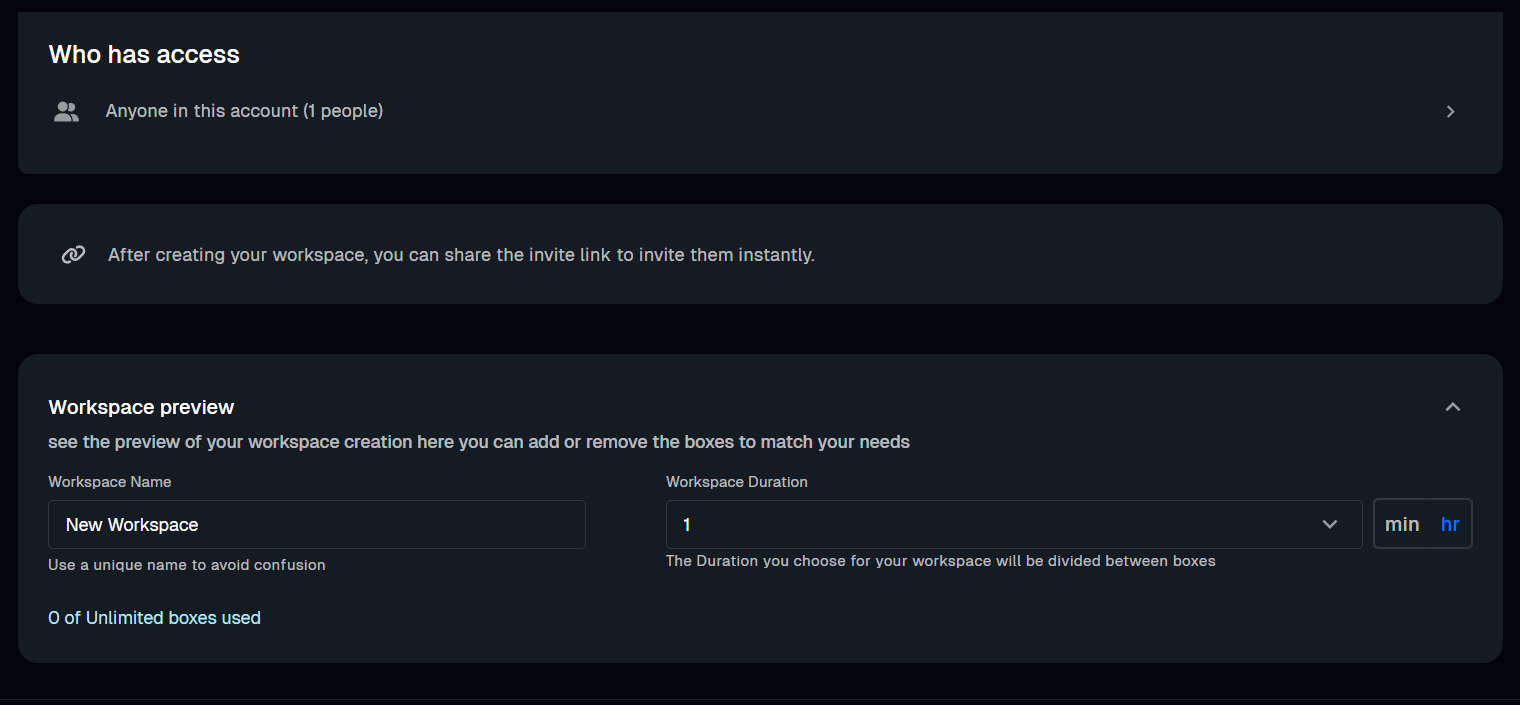
Type a Name and choose a Duration. Click Create.
6. Run
Find your Workspace and click Start (▶). When it says Running, click Console.
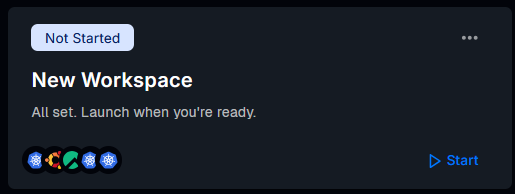
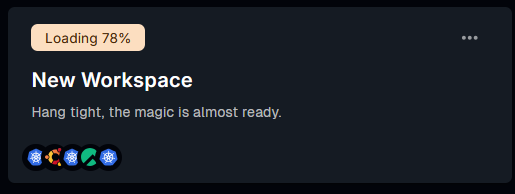
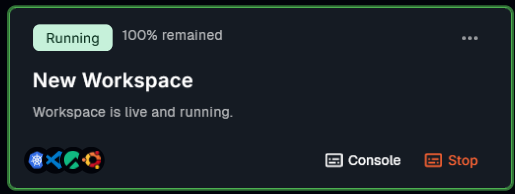
That's it! Your workspace is now ready to use